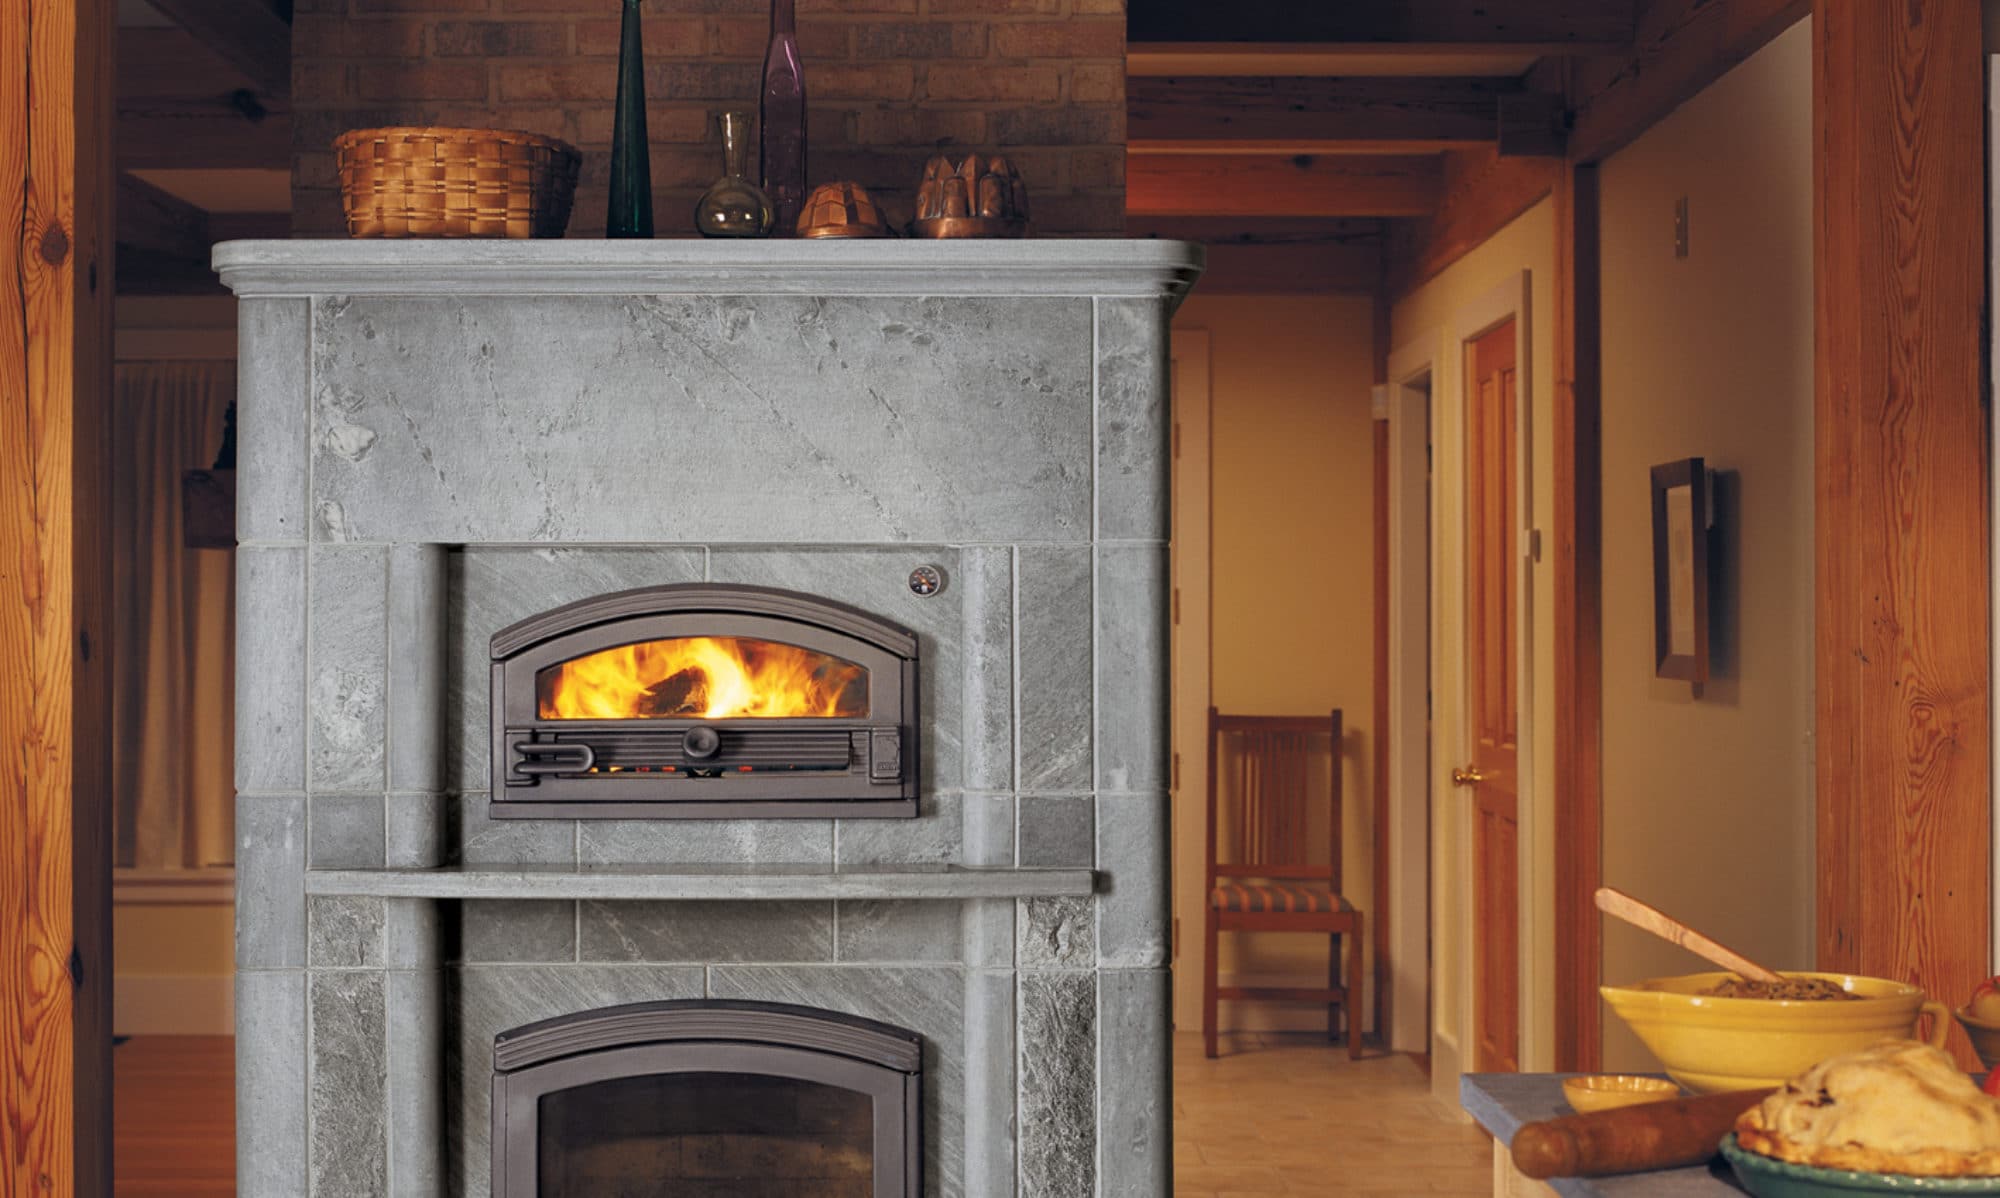
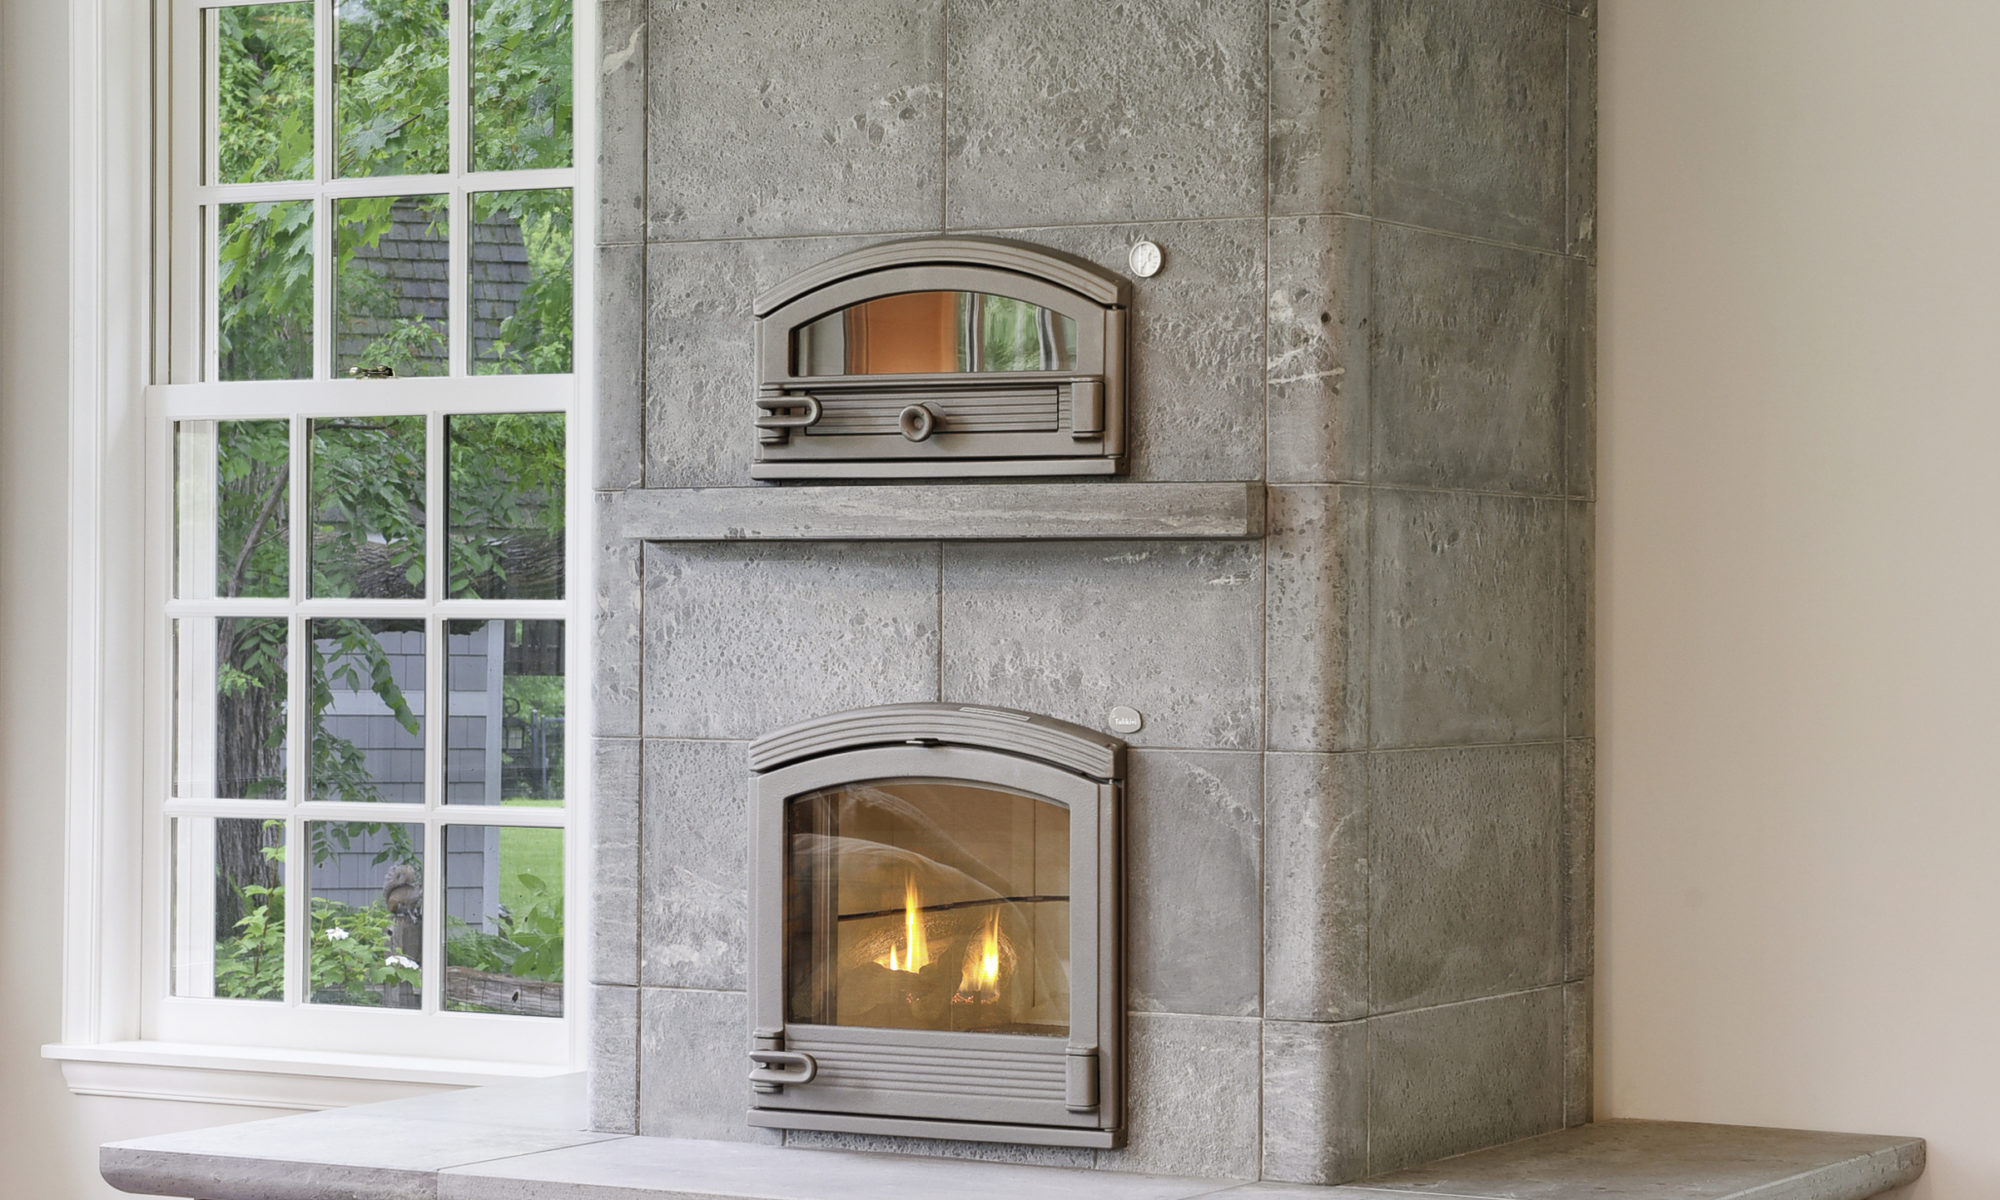
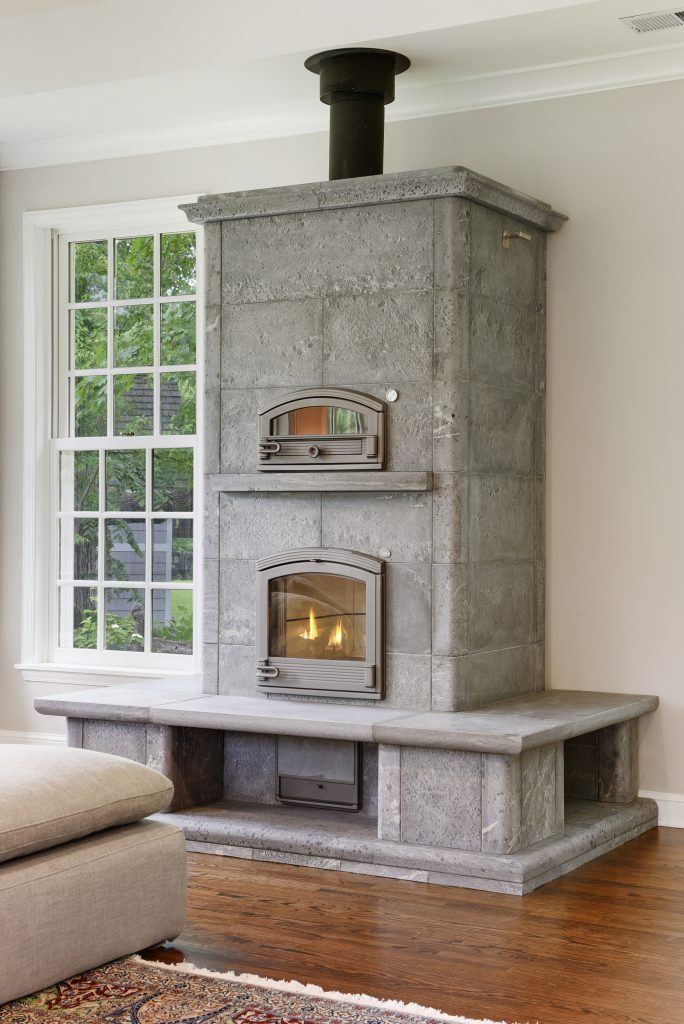
In May 2019, we began building a Tulikivi TTU2700 in a family home in Edina, MN, but this soon turned out to be a very difficult project. The back yard of the home we were installing this 8,000-lb. heater into backed up to a creek.
We needed concrete footings to support the 4 tons of soapstone. As we dug out the earth for the footing, we discovered that because of the nearby river, the water table was 40 inches below the soil line. Once we got to 40 inches deep, water began seeping into our footing pit. We used a sump pump to remove the water as it entered the pit, and kept digging. The sump pump was necessary, and ran continuously for as long as the footing was exposed because water constantly trickled into the pit. It may not sound like a big deal, but this was a serious threat to our footing and thankfully things went smoothly without incident.
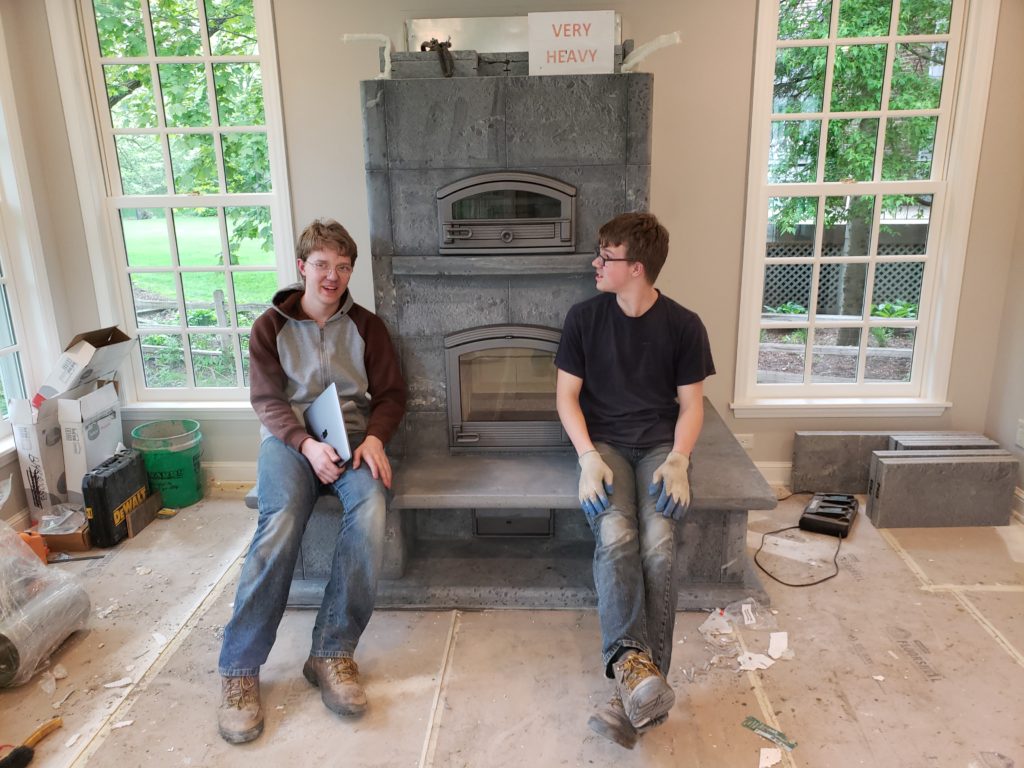
After 5 days of assembly and some chimney work, the heater was finished. It turned out absolutely beautiful and the homeowners are thrilled. They are looking forward to winter! This is a unique thing that happens to masonry heater owners, we start to look forward to the snow and cold!
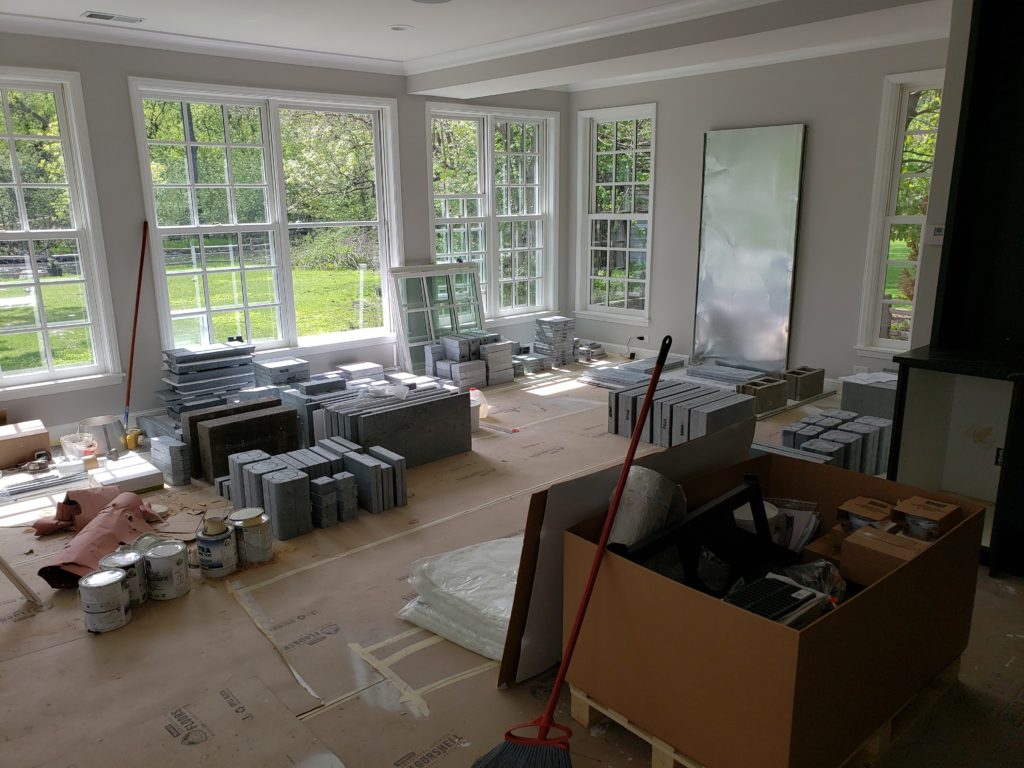
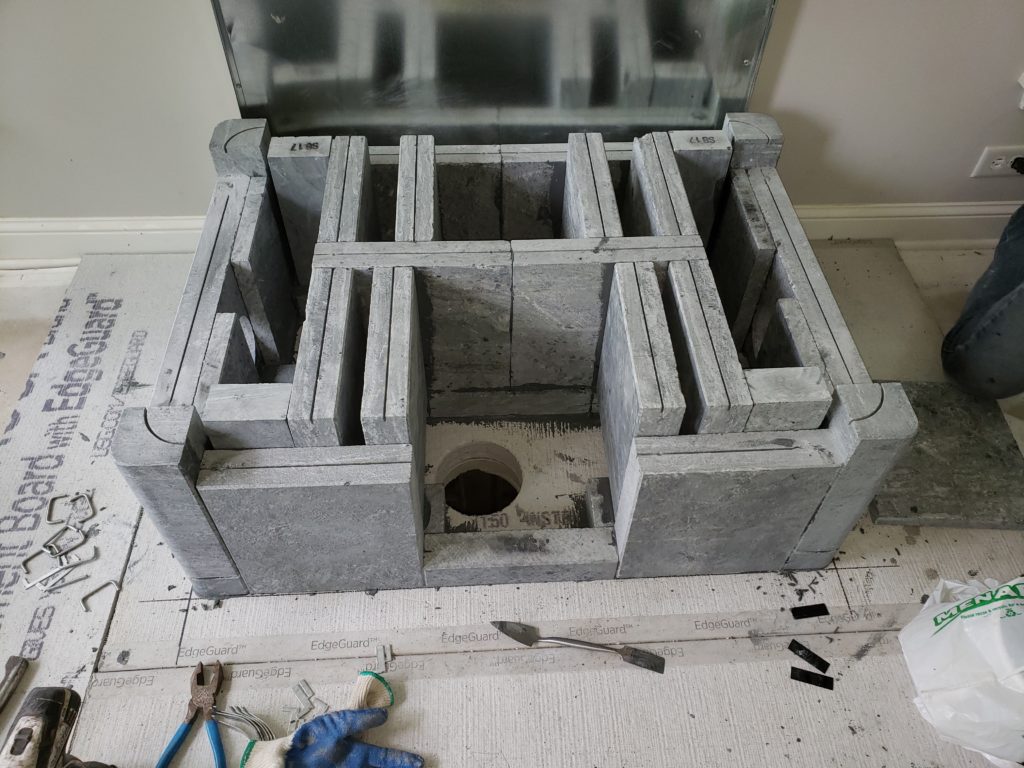
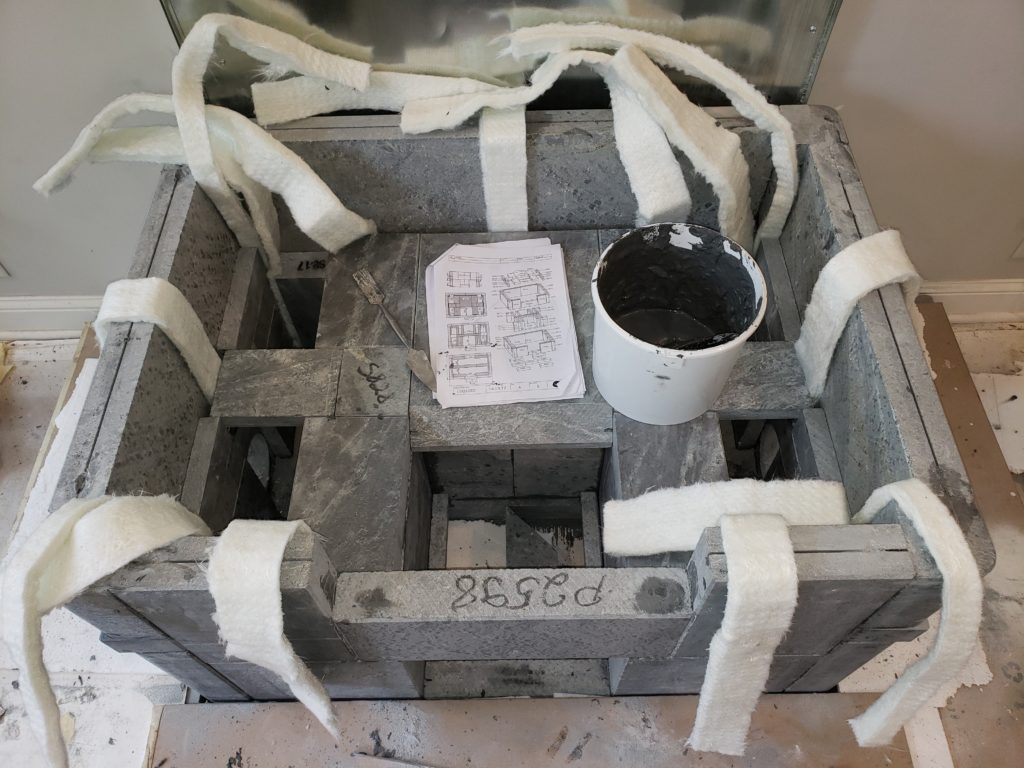
My sons and I had a wonderful time building this heater. I’ve included a few pictures so you can see some steps along the way. Most people don’t realize how many pieces go into these Tulikivi heaters, and what a puzzle they are to assemble.
Masonry heaters are normally two layers of stone thick. The inner layer which takes the brunt of the intense heat, and the outer layer which basically absorbs heat. These two layers.need to be able to work independently and move independently. The picture with all of the white expansion joint material is here to show the kind of separation between the two layers necessary to prevent cracking. It has been compared to a lung inside the body. The inner core needs to be able to “breathe,” or move up and down, expanding and contracting independently of the outer layer of stone.
